


Get Crafty - A Traffic Cone As You've Never Seen Before
I have been toying with the idea of a pretty traffic cone for a while now, I just liked the juxtaposition of something quite hardy and undervalued being beautiful and sought after.
So, when I asked for a traffic cone to do this art project at home, our marketing manager very kindly said why not use the space here, so I have taken photos to show the progress.
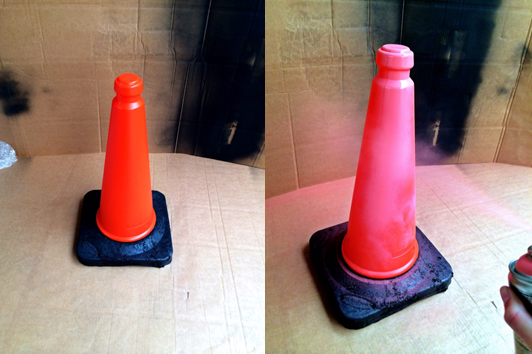
We started off with your basic highwayman traffic cone, removing the reflective sleeve, left just the basic cone shape to work with.
I found this lovely flowery pink-coloured spray paint online, which also was a colour featured in the painting I chose to use. Therefore, I knew that the finished piece would all tie in together.
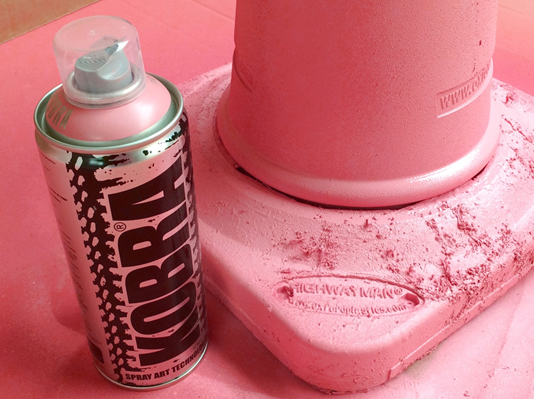
After 3-4 good coats of spray paint, I left it to dry fully over the weekend.
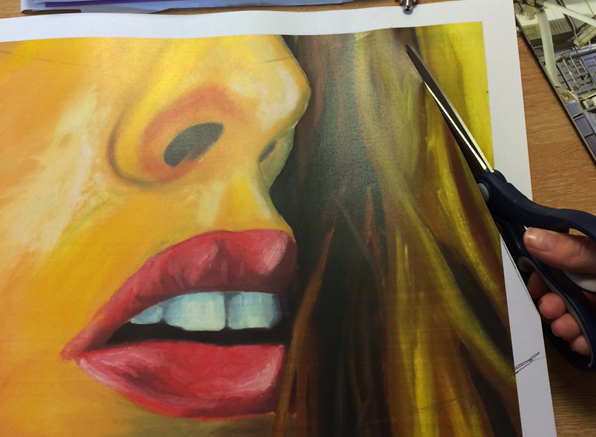
I then printed out an A3 sized version of the painting I had chosen, and used the reflective sleeve I had previously removed before spraying as a template. This meant the painting would fit around the cone perfectly.
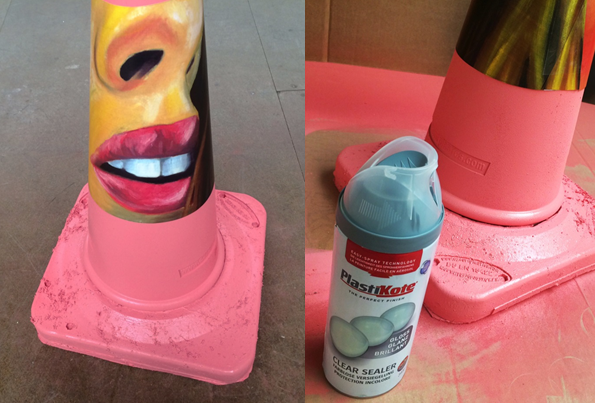
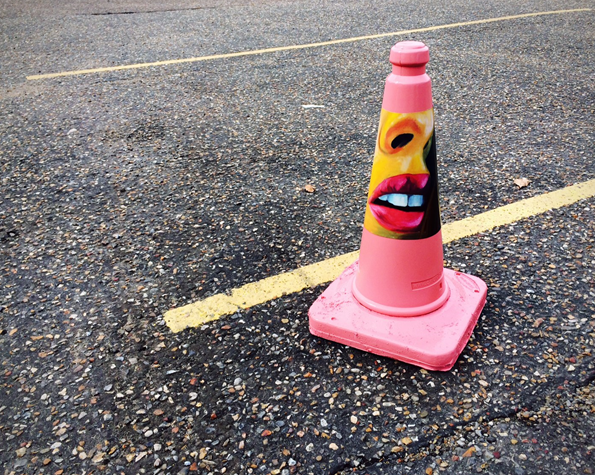
Once the painting was in place, it was time for the final stage; the gloss. This stuff was pretty darned strong (much to the joy of our warehouse boys Martin and Kris, soz peeps!) so this was the stage that took the longest, as I put on about 4 coats to make sure I hadn’t missed any areas and that the sleeve was sealed. After waiting overnight for it to dry, it was finished! And you can see the finished result in all its glory below.
Want to have a go yourself? Here's what you’ll need:
- Traffic cone
- Spray paint in a colour of your choice
- Spray Gloss
- Scissors
- Sellotape

Author Bio - Laura Holland
Social Media and Web Content Coordinator, Jan 2014 - May 2015