


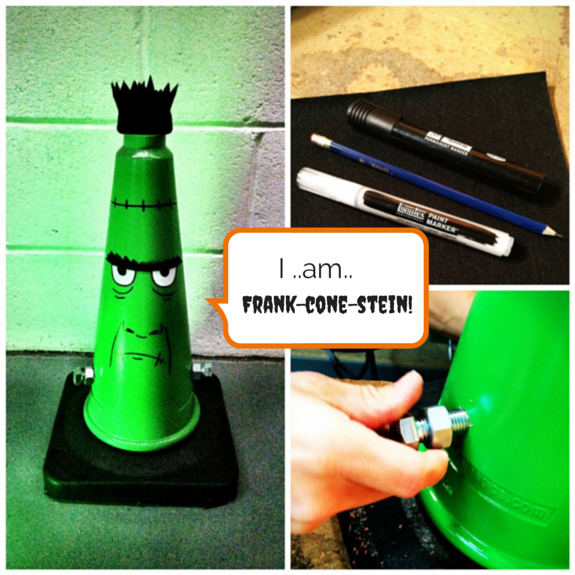
Create your own Frank-cone-stein
OK we know that Frankenstein was actually the creator and not the monster but we couldn't resist the pun! we give you a step by step guide on creating your own monster using the humble traffic cone.
We are getting in the 'spirit' of Halloween this week by creating some 'spooktacular' cones. (OK I am done with the puns now)
What you'll need:
- Cone (traffic or lightweight)
- Spray paint
- Primer (optional)
- Sticky back felt
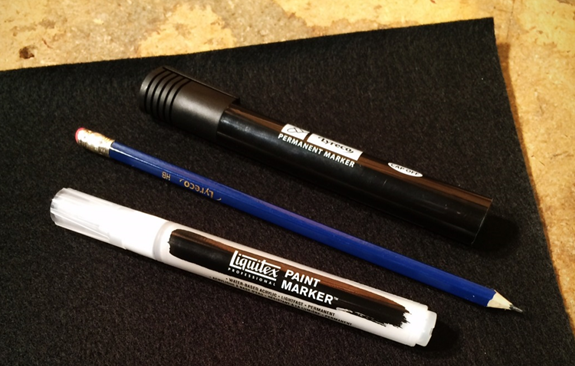
- Permanent marker
- Paint pen Scissors
- Pencil
- Nuts and bolts
- Drill
We got our supplies from Hobby Craft, but you can get them from any good craft shop.
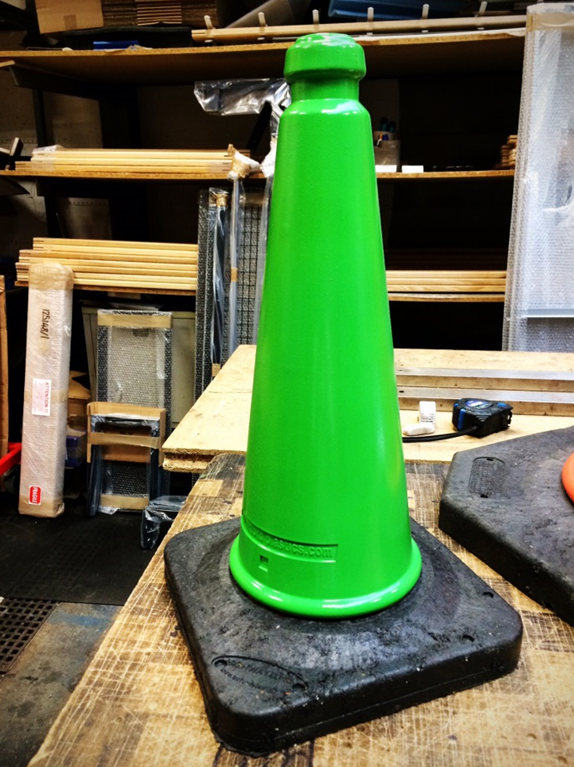
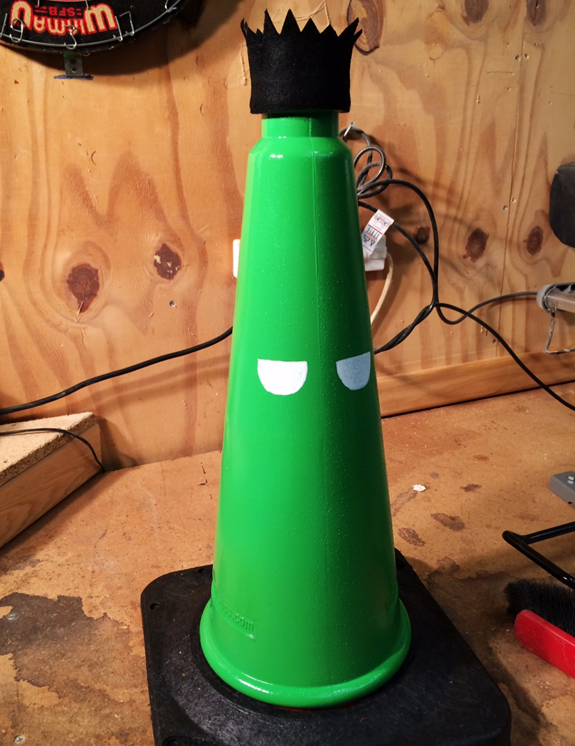
We took a normal 500mm traffic cone and primed it, this is optional but it will give a more vibrant and cleaner colour for the coat of spray paint. And spray painted with a bright green. We left the base black by masking it off, as we thought it would add to the roughness of it.
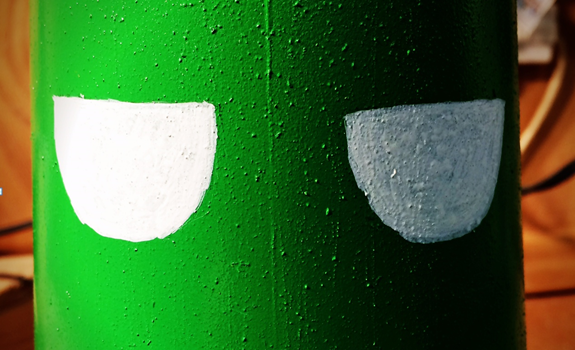
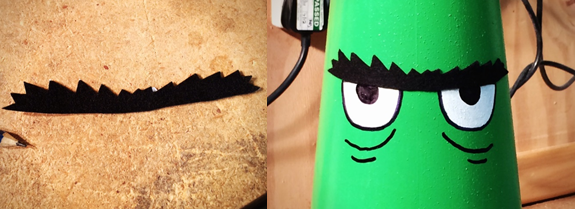
Once the cone is dry you get to do the fun bit! The face. This is where you will need the felt, pencil, and paint marker.
We used the pencil to outline where to paint on the eyes with the paint marker but if you are confident you can do it freehand.
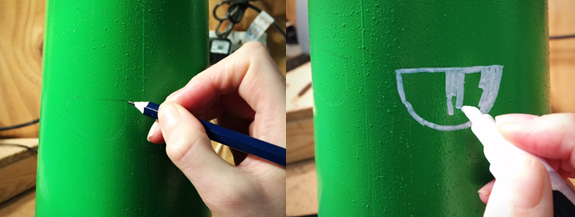
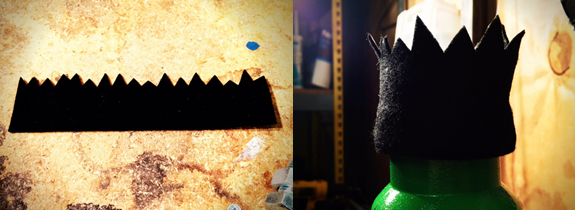
While we are waiting for the eyes to dry, we added the hair to the cone using the sticky back felt.
Simply measure it around the top of the cone and cut out a zig zaggy hair line, then simply stick onto the cone.
Once the eyes were dry we moved onto drawing the face onto the cone, we did a test run before hand on paper to make sure we knew what we were going for and then went for it on the cone.
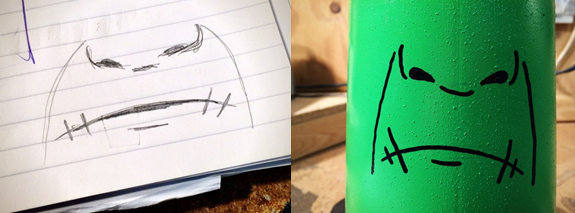
And adding the eyebrows..
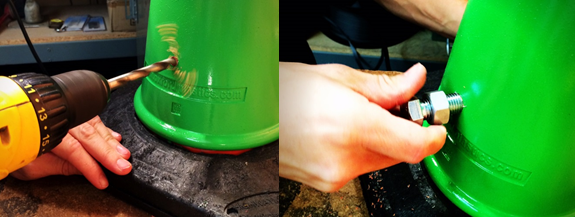
The final part of creating your own Frank-cone-stein is the nuts and bolts! For this you will need the drill.
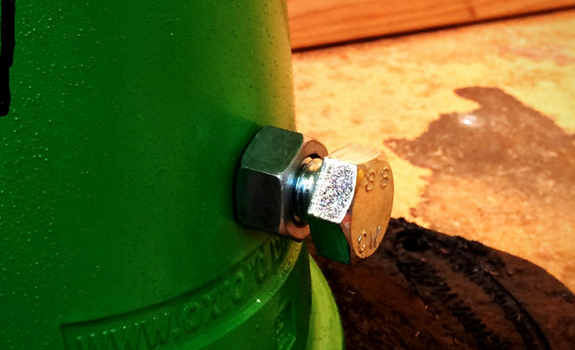
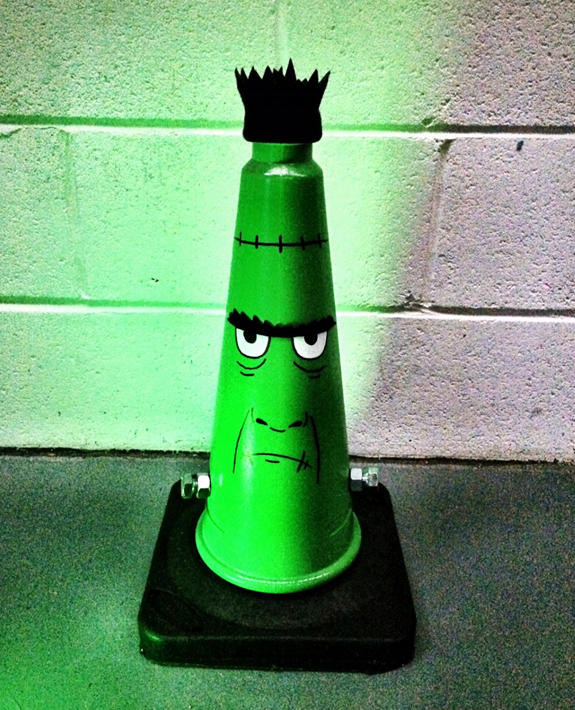
Repeat the process on the other side and you will have your finished Frank-cone-stein as seen below.

Author Bio - Laura Holland
Social Media and Web Content Coordinator, Jan 2014 - May 2015