


Create Your Own Rudolph the Red Nosed Cone-deer
For those of you that read our blog on a regular basis, you may remember we did a Frank-cone-stein at Halloween, well we've been at it again and put together a step by step guide to create your own Rudolph the red nosed cone-deer this Christmas!
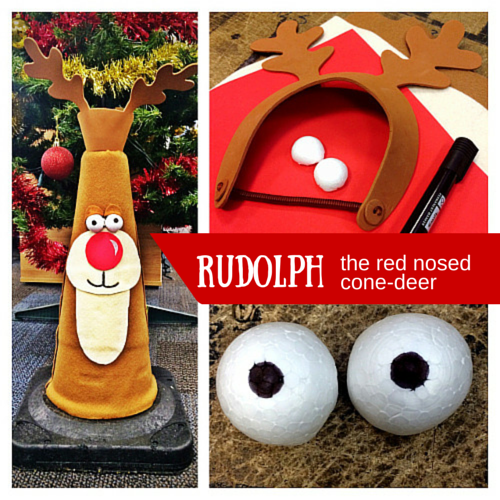
What will you need to create your own cone-deer?
- Traffic cone
- Antler headband (we got ours from hobbycraft)
- Brown and cream felt
- Red plastic/foam sheet
- Ping pong ball or similar
- Permanent marker
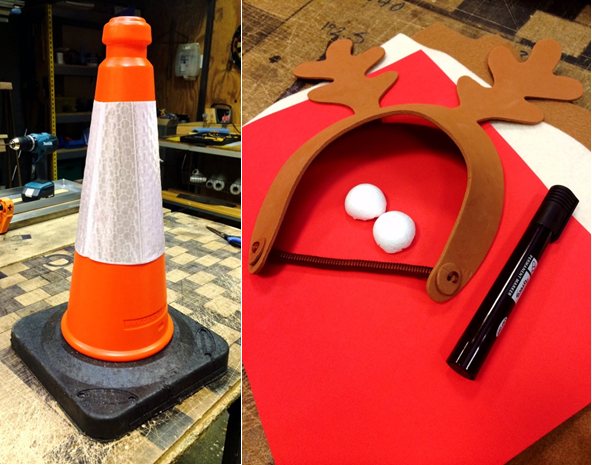
First remove the reflector on the cone, but keep hold of it you will need it later on for the finishing touches!
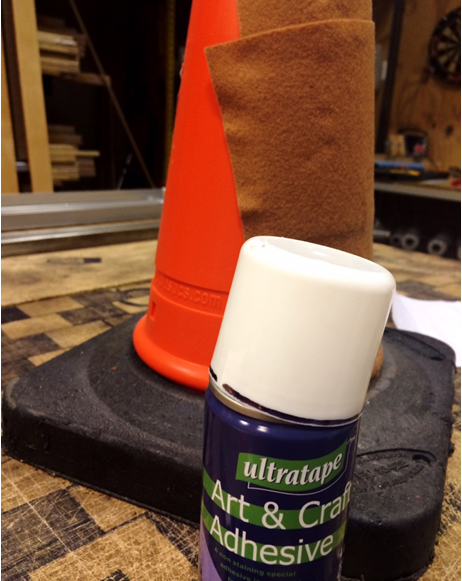
Once you have done that start sticking the brown felt around the cone, you can use double sided tape or a spray adhesive, whichever you prefer.
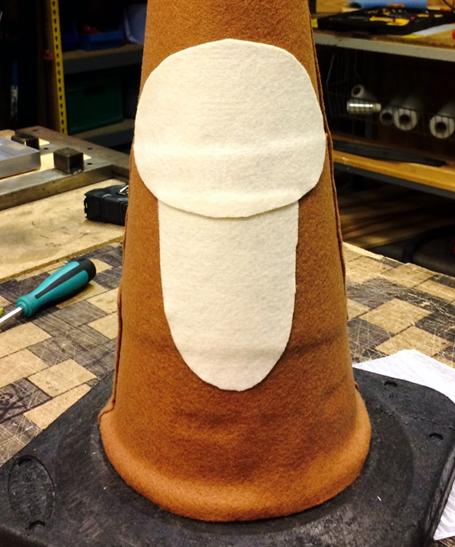
Once you have covered the whole cone in the brown felt you need to cut out the nose and chest area in the cream felt and arrange onto the cone, like above.
Cut out the red nose on the red plastic/foam sheet or red paper, I used the cap on the spray adhesive as a template.
I used google to find images of what I wanted the cream area and nose to look like.

Cut the ping pong ball or foam balls in half and draw some black dots on it for eyes, arrange these where you want on the cone.
As you can see Rudolph is now starting to take shape! You can also add some eyelids to the top of them from any leftover felt. The finally wrap the antler headband round the top of the cone and secure with some sticky tape and cut any excess off.
And TAH DAH! Your Cone-deer is complete!


Author Bio - Laura Holland
Social Media and Web Content Coordinator, Jan 2014 - May 2015