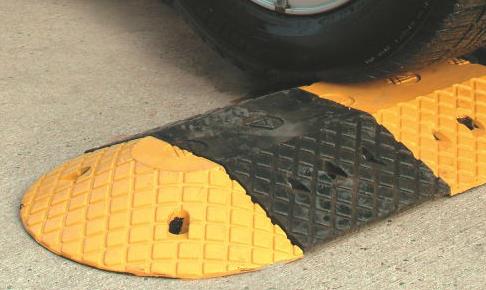
How To Install Speed Bumps
Speed bumps are great at reducing the speed and controlling the flow of traffic. So now you’ve bought some where are the best places to put them, and how do you install them?

Placement of speed bumps
The installation of a speed bump, or speed ramp as they are often described, is designed to reduce traffic down to between 0-5mph and reduce the risk of accidents in vulnerable spots. The majority of drivers stop before they gently take their vehicle over the bump or at the very least slow right down before continuing over it.
With this in mind it’s not advisable to install these where the traffic needs to flow freely as it can cause queues which will irritate drivers.
However if you have a stop sign which is being ignored i.e. in front of a shop where pedestrians are crossing from the car park, then this a perfect solution as the vehicles will have slowed down significantly before they get to the stop sign. Another good place for these will be around the car park itself, this will stop cars driving too quickly and potentially clipping cars that are reversing out. These types of scenarios are exactly what speed bumps are for.
Installation of speed bumps
Installing your speed bumps should be quick and easy and if you want to relocate them in the future you can!
The tools you will need:
- Electric or pneumatic drill
- ½” carbide tip drill bit
- Sledgehammer
- Broom
Before you start installing the speed bumps, please make sure that you have put up adequate warning signs of work going ahead and make sure that you are not in a dangerous position.
- First things first, sweep the area of installation to make sure it’s clear of any debris or anything that could get in the way
- Place the speed bumps where you want to fix them
- Drill through each installation point on the bumps and caps into the concrete/tarmac
- Drive the supplied spikes through the speed bump and into the hole until the spoke is inside the recess at the top of the bump
Congratulations, you have just installed your speed bump! And you have raised the safety standards in your area as well.

Author Bio - Laura Holland
Social Media and Web Content Coordinator, Jan 2014 - May 2015


